Configuring ServiceNow and SNSC
You can enhance your ServiceNow instance with the CA Automic ServiceNow Service Connector (SNSC) to enable the execution and monitoring of Automation Engine services directly from the ServiceNow service catalog.
This page includes the following:
Updating Application Access for Tables
Prerequisite: You have a ServiceNow user that has admin and security_admin roles.
- Log in to the target instance with a user with admin and security_admin roles.
- Set the Application Scope to Global.
- Navigate to Automic SNSC > Support > Used ServiceNow's Tables.
- Open each of the following tables io_set_item, item_option_new, item_option_new_set, sc_category, sc_cat_item, sysauto_script.
Ensure that the options Can create, Can update, Can delete are checked in the Application Access section for all six tables.
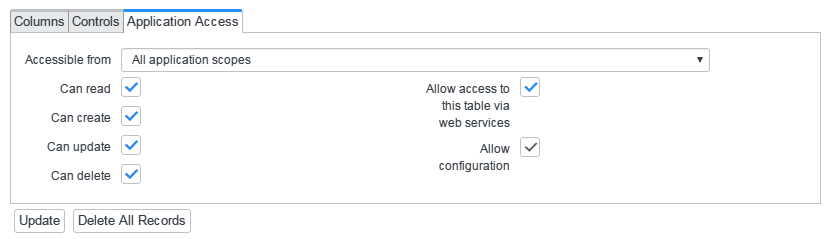
The application access is now configured.
Configuring ServiceNow System Properties
SNSC uses ServiceNow System Properties to store SAPI and OAuth configuration properties.
Note: You may use an intermediate MID server when you cannot connect from your ServiceNow instance to SAPI or OAuth servers. See also: https://wiki.servicenow.com/index.php?title=MID_Server.
To configure ServiceNow for using OAuth and SAPI start the Automic OAuth Configuration wizard.
To Configure Service Now System Properties
- Log in to the target ServiceNow instance with a user who owns the roles admin and security_admin.
- Navigate to Automic SNSC > Automic Configuration > Automic OAuth Configuration.
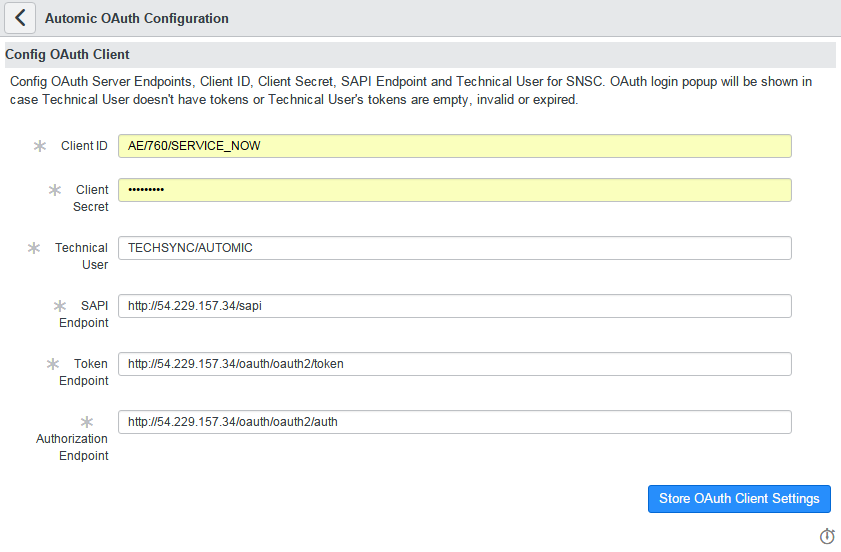
- In Automic OAuth Configuration and modify the following configuration parameters:
Configuration Parameter
Description
Client ID
Identity of the OAuth client (AE_system_name/client_number/user_name)
Example: AE/777/SERVICE_NOW
Note: Generally, this is the ID of the ServiceNow instance registered with OAuth server. This the same client ID that you used in the VARA object called OAUTH.[CLIENT_ID].CLIENT_INFORMATION. See Adding the OAuth Configuration to AE Clients.
Client Secret
Secret phrase of OAuth client user
Example:
AES_12345, the value will be encrypted in ServiceNowTechnical User User Name/Department
Example: TECHSYNC/AUTOMIC
SAPI Endpoint
Root endpoint URL of SAPI, the URL from which SNSC discovers services
Example:
http://mycompany.com/sapiImportant! A protocol indication (http/https) is required.
Token Endpoint
Endpoint for token requesting/refreshing URL
Example:
http://mycompany.com/oauth2/tokenImportant! A protocol indication (http/https) is required.
Authorization Endpoint Authorization endpoint URL
Example:
http://mycompany.com/oauth2/authImportant! A protocol indication (http/https) is required.
Note: If the Technical User does not have a valid token (empty or expired token) or no access data has been stored before (this is the first login), an OAuth login window will pop up.
- Click Store OAuth Client Settings.
Note: New values are effective immediately.
OAuth Client Settings are activated.
Setting up the Approval Group
- Log in to the target instance with a user with admin role and set the scope to Automic SNSC.
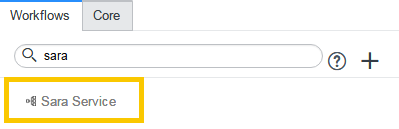
- Navigate to Workflow > Workflow Editor.
- Search for and select the workflow named Sara Service:
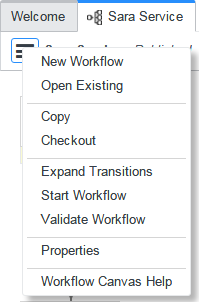
- Click Menu and Checkout the workflow:
- Double-click the Waiting for Approval activity.
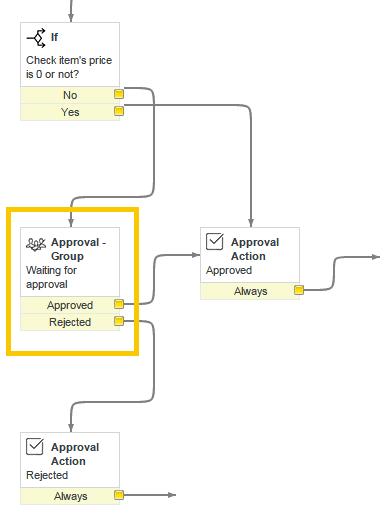
- Choose the group name which you want to be Approval Group in Groups:
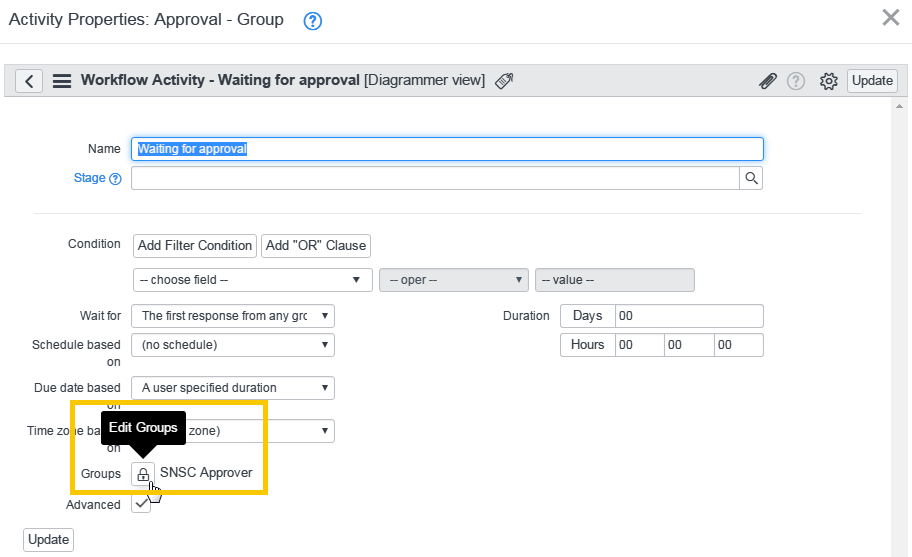
-
Click Edit Groups.

-
Add the approver from the look-up list.
Note: Approvers have to be assigned to your Approval Group and granted with approver_user and x_ausgh_snsc.user roles.
- Click Update.
- Publish the workflow again:

You have just configured the Approval Group for SNSC.
Configuring the Log Level
- Go to Automic SNSC Components > Sara System Properties.
- In the Suffix field, enter logging.verbosity. This property is used to configure the log verbosity.
- Enter one of the following levels in the Value field: error, warn, info, debug, trace.
- Click Submit.
Next steps: Continue with Optimizing the SNSC Performance.