The steps for defining an Agent Group (HOSTG) are the same as any other Automic object. This section describes the settings that are specific to only agent group objects. For general information about the purpose of an agent group object, see Agent Groups (HOSTG).
An agent group definition is made up of the following pages:
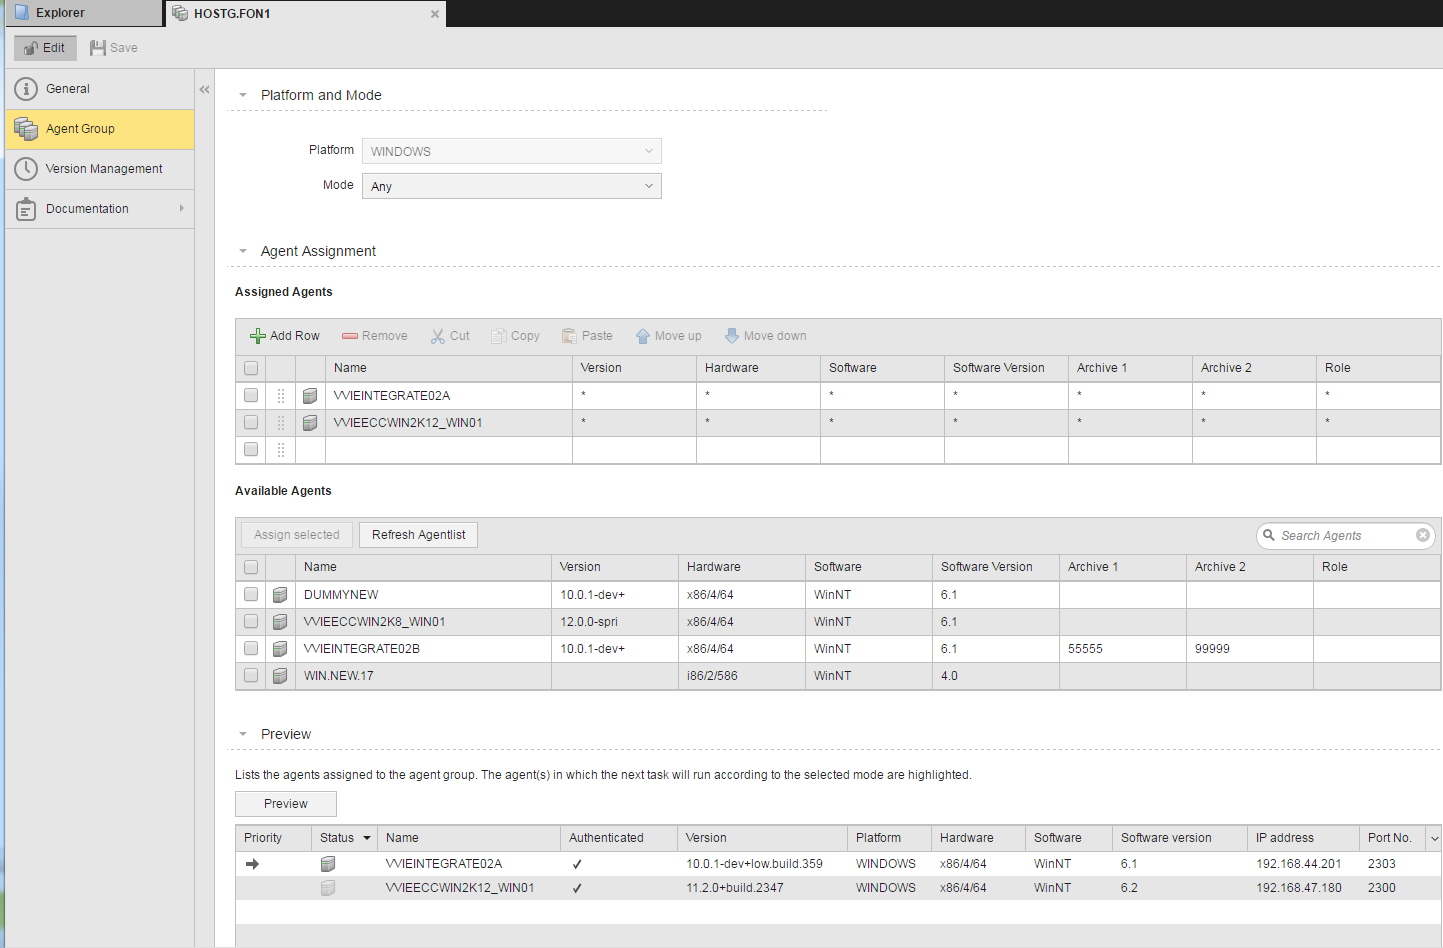
In the Agent Group page you define the group settings and assign it the individual agents.
Agent groups of client 0 can also be used in other clients provided the administrator has set the relevant rights for the agent group. The client's agent group is used if the client 0 contains an agent group of the same name.
An agent group of client 0 does not necessarily supply the same agent in each client. Agents obtain client authorizations after installation which can differ from each other.
Defining an Agent Group consists of the following:
Once you have created them in the Process Assembly perspective, you can also access and edit them in the Administration Perspective.
First Define the Agent Group-Specific Settings
In the Platform and Mode section you define the environment and the agents in the group in which the tasks should be executed.
Select the Platform.
You can only assign individual agents to a group if they all have the same platform.
This list is disabled as soon as you start assigning agents to the group. You can only change the platform definition if you first remove all the agents assigned to the group.
Please note that Platform and OS are not the same. For example, an agent group in which the WINDOWS platform has been defined can only contain Windows agents. However, an SAP agent that runs on Windows cannot be assigned to this group, since in this case SAP is the platform.
In Mode you specify the method that the agent group will use to evaluate which agent should be used to process each task:
| Field | Description |
|---|---|
| Any | Any agent with enough resources is assigned for processing the task. |
| First | On the first available agent, depending on the order defined in the Assigned Agents table |
| Next listed |
On the next active agent according to the order specified in the Assigned Agents table. In case of multiple tasks using the same agent group, a round robin system is applied. Thus, task A would start running on the first agent and task B, which is started later, would run on the second agent, and so on. |
| Load dependent | On the agent with the lowest workload in the group according to the data delivered by the resources allocation. The following is taken into consideration:
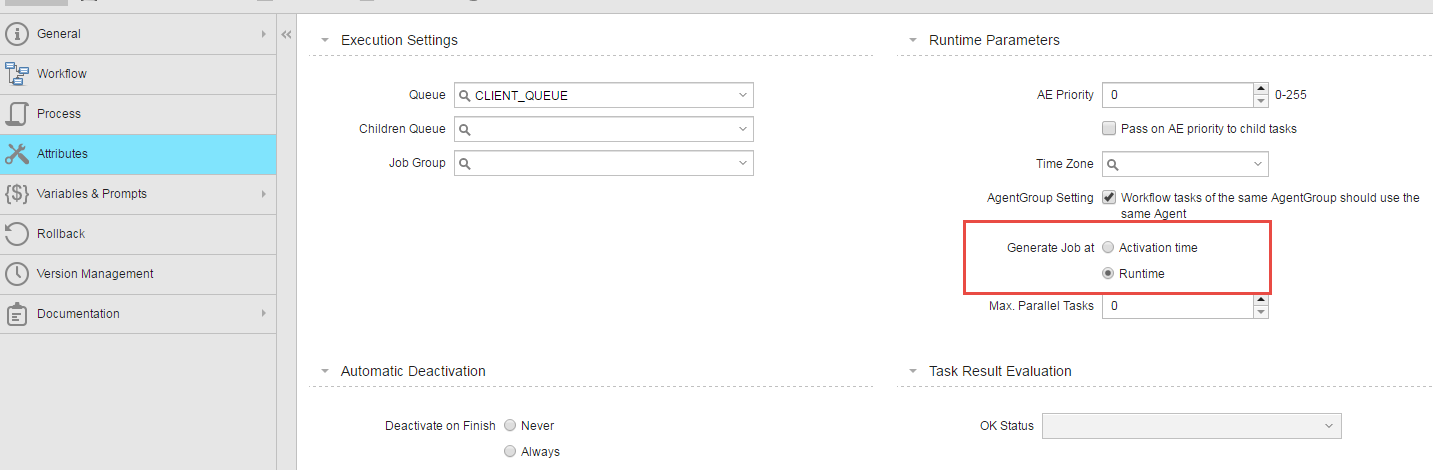
In both cases, if agents have the same resource limits, the agent with the fewest active tasks is used. The criterion to select an agent to execute a task is the start time defined for the task. You specify this on the Attributes Pages of Executable Objects of the executable object:
You have two possibilities:
|
| All active | On all active agents |
|
All active and inactive |
On all agents |
| Parallel tasks |
If tasks in this group are to be executed in All active or in All active and inactive agents, you can also specify
|
Then Assign Individual Agents to the Group
In this section you pick the individual agents from the Available Agents list and insert them in the Assigned Agents one, where you can then rearrange them to meet the order of the agents in the group. The order is important if you have previously selected Next listed as mode.
| Field | Description |
|---|---|
| Name | Name of the agent. |
| Version | Version of the agent, including its hotfix level. |
| Hardware | Hardware information such as system type, number of processors, processor type. |
| Software | The OS. |
| Software Version | Version of the OS. |
| Archive 1/2 |
Archive keys are keywords you assign to the object. Later on you can perform searches or you can filter objects using them:
|
| Role | Role of the agent. The system administrator can determine roles for each agent, which are stored in the UC_EX_HOST_ROLE agent variable. |
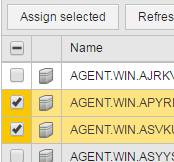
To Assign Agents to Groups
For details see the description on the first table above.
The list displays all agents that are available for the current client.
For this purpose, enter the name of the agent in the search box.

The content of the agent list diminishes dynamically as you type.

Do not forget to define the proper order of the agents in the group if you have selected First or Next listed above.
You can also use the following script functions to assign agents:
:PUT_ATT to assign a different agent, but you cannot assign a different agent group.PREP_PROCESS_AGENTGROUP to read the agents of an agent group.Finally, Arrange the Agents in the Group
You do it in the Assigned Agents list.
To edit a row you must first click its checkbox to activate it. You have then the following options:
| Option | Description |
|---|---|
| Inserts a new row at the bottom of the table |
| Deletes the row |
| Removes the entry from the list and pastes it to the clipboard. Click Paste to add it to the bottom of the table. |
| Duplicates the entry. Click Paste to add it to the bottom of the table. |
 | Moves the selected row in the table one position up. |
 | Moves the selected row in the table one position down. |
 | Activates all rows in the table. |
See also: