Open topic with navigation
Provisioning Deployment Targets
After creating a stack provider and a stack template, you can decide either to provision a deployment target and then assign it to an environment or to provision an environment (by using the wizard). This is what you have to do if you decide to go for the first option.
To Provision a Deployment Target
- Select Deployment Targets in the main pane.
-
Click the Provision button in the toolbar. The Provision Deployment Target dialog opens.

- Enter a name for the new deployment target you want to provision. The name must be unique.
- Select a stack template from the dropdown list.
Only stack templates with status "connected" are displayed on the dropdown list.
- Select the folder where you want to store your deployment target.
- Assign an owner to the deployment target.
- Click Provision. The deployment target's Properties view opens.
- The General section shows information on the name, type, status, location and owner of the deployment target. You can activate or inactivate the deployment target by selecting the corresponding option from the Status dropdown list.
-
The Agents (HOST) or agent group is automatically assigned by the system. You can also assign a new agent.
The deployed agent is assigned to the deployment agent during provisioning.
-
Unfold the Stack lifecycle section to see the stack provider, current state and the actions you can perform, which vary depending on the status of the provisioned deployment target.
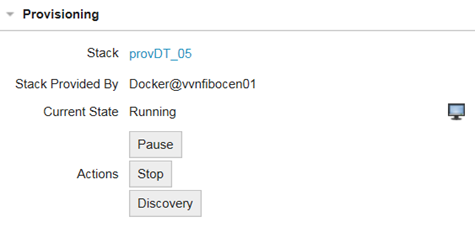
You can click on the monitor to see the workflow tasks defined for the current lifecycle state. When the workflow has successfully ended and the provisioned deployment target has reached the next milestone, you can select the action to be performed next.
Actions cannot be selected when the deployment target is in a transition state. For more information see Provisioning Lifecycle.
- Depending on the options selected in the Properties Mapping section when creating the stack template, some of the custom properties, such as home directory, host, port, etc... may be defined automatically by the system.
-
Finally, add the provisioned deployment target to one or more environments in the Environments section.
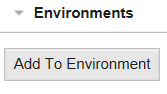
Now you can execute the deployment workflow.
Open topic with navigation