Secure AWI Access using SSL
In this document you find detailed instructions on how to connect to your AWI instance via SSL.
See the Securing the Backend to know more on how to secure the Analytics backend.
Overview
- Create a Keystore File for Your Tomcat Installation
- Import a Signed Certificate into the Keystore (optional)
- Configure the Tomcat Connection
- Test Access to Your AWI instance
To Secure AWI Access using SSL
-
Create a Keystore File for Your Tomcat Installation
-
Open a command prompt with administrator rights and change the path to the Tomcat configuration directory (TOMCAT_HOME/conf/).
-
Create a keystore file with a self-signed certificate using the following command.
SHA-1 certificates are considered to be unsafe by modern browsers. Use SHA-256 instead.
"%JAVA_HOME%\bin\keytool" -genkey -alias tomcat -keyalg RSA -keystore tomcat-keystore.jks -storepass myTomcatKeystorePassword
This will result in the output as shown below (status after complete editing).
The cursor will jump to the first line you can enter your values in. After each entry confirm with the Return key to jump to the next line.
What is your first and last name?
[Unknown]: localhost
What is the name of your organizational unit?
[Unknown]: YOUR_UNIT
What is the name of your organization?
[Unknown]: YOUR_ORGANIZATION
What is the name of your City or Locality?
[Unknown]: YOUR_CITY
What is the name of your State or Province?
[Unknown]: YOUR_STATE
What is the two-letter country code for this unit?
[Unknown]: AT
Is CN=localhost, OU=YOUR_UNIT, O=YOUR_ORGANIZATION, L=YOUR_CITY, ST=YOUR_STATE, C=AT correct?
[no]: YES
Enter key password for <tomcat>
(RETURN if same as keystore password):You have to use the hostname / domain of your AWI instance as your first and last name
(localhost)in this example).This command will create a new keystore file named
tomcat-keystore.jksprotected with the passwordmyTomcatKeystorePasswordlocated in the configuration directory.
The keystore contains a self-signed certificate for your AWI instance. -
-
Import a Signed Certificate into the Keystore (optional)
You can skip this step if you use the self-signed certificate created in the previous step.
- Use the following command to import a chain certificate or root certificate (if available) into your keystore first:
- Now import the certificate using this command:
-
To import an existing certificate signed by your own Certificate Authority (CA) into a
PKCS12keystore using OpenSSL, execute a command like this:
"%JAVA_HOME%\bin\keytool" -import -alias root -keystore tomcat-keystore.jks -trustcacerts -file <filename_of_the_chain_certificate>
"%JAVA_HOME%\bin\keytool" -import -alias tomcat -keystore tomcat-keystore.jks -file <your_certificate_filename>
The Tomcat only supports keys and certificates in the
JKS,PKCS11orPKCS12format.openssl pkcs12 -export -in mycert.crt -inkey mykey.key
-out mycert.p12 -name tomcat -CAfile myCA.crt
-caname root -chain -
Configure the Tomcat Connection
- Open the
server.xmlfile located in the configuration directory of your Tomcat instance. - Add the follokwing connector configuration to your configuration file and save it:
- Restart your Tomcat instance to apply the changes.
<Connector port="8443" protocol="org.apache.coyote.http11.Http11Protocol"
keyAlias="tomcat" keystoreFile="conf\tomcat-keystore.jks" keystorePass="myTomcatKeystorePassword"
maxThreads="150" SSLEnabled="true" scheme="https" secure="true"
clientAuth="false" sslProtocol="TLS" />For the parameter
keystorePassenter the password of thetomcat-keystore.jks.
- Open the
-
Test Access to Your AWI instance
You can now access the Automic Web Interface using a secure connection.
- As URL use
https://YOUR_DOMAIN:8443/awi/(for example:https://localhost:8443/awi/) - If you are using a self-signed certificate you may receive a warning that the connection is untrusted, because is not possible to verify the identity.
You can only avoid this warning if you are using signed certificates by a trusted certificate authority. The connection's encryption is the same as with a self-signed certificate.
You would have to confirm that you want to use the self-signed certificate in a dialog similar to this: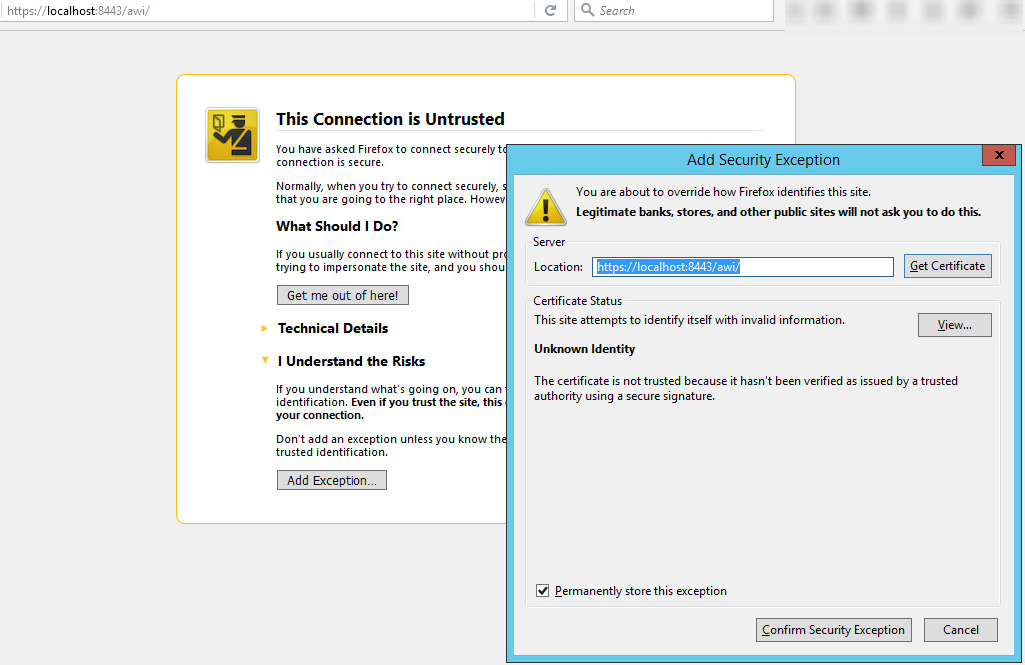
- As URL use