Creating Your First REST Action
This use case will help you learn how to create a REST Action. This Action will request some information from a REST endpoint via a simple GET request. In the following use case we will use the CDA-REST-Endpoint. This endpoint can also be replaced by any other endpoint of your choice.
Watch the video:
Before you Start...
- Make sure that the RA Web Service REST Agent agent is available.
- Ensure the following action packs are installed. You should see them in the PACKAGES folder in the Explorer sidebar in the Process Assembly perspective.
PCK.AUTOMIC_ITPA_SHARED (ITPA Shared Action Pack)
Basic building blocks for package development and bootstrapping new actions.
- Variables for dropdowns
- Promptsets to select Agents
- General purpose Includes
PCK.AUTOMIC_RA_REST (REST Action Pack)
Basic building blocks for package development and bootstrapping new actions.
- Input parameter passing and mapping to execution payload.
- Output parameters definition and parsing of response data.
- Error state/condition handling.
- Testing of REST action in context of input and output parameters.
Note: If they are not listed in the Explorer sidebar, then you need to download them from our marketplace at https://marketplace.automic.com/ and install them. For instructions about installing an action pack, see Installing Packs in Working with Packs and Plug-ins.
Creating the Hello CDA Action
- Navigate to the Process Assembly perspective.
- Select the Packs tab.
- Create a new Action Pack by clicking the Add Action Pack button in the sidebar.
- Name it Hello World.
- Click Add Action Pack to finish the creation process.
- Click the Add Action button in the toolbar to add an Action to the Action Pack. The Add Action dialog is displayed.
- Select the REST type from the drop-down list.
- Fill in the other fields.
Note: Categories are listed in the Explorer when editing workflows. They are represented as folders within the AE and can be changed later on.
- Click Next.
- Now it's time to select the authentication type supported by the endpoint of your choice. For the purpose of this use case the Basic type is selected, as this method is used by the CDA endpoint.
- Click Next to confirm the creation of the Action.
- Re-validate your input and click Add.
- Let's navigate now to Variables & Prompts > Prompt Sets to specify the endpoint and credentials.
- Click the Request tab to specify the REST resource that you want to go for. For the purpose of this use case, we will retrieve the list of all applications.
- Click Execute in the toolbar to execute the Action.
- An input request is triggered, which is indicated in the upper right corner of your screen (yellow number). Click it to open it.
- Since we have already defined the required values in the prompt sets we only have to submit our request.
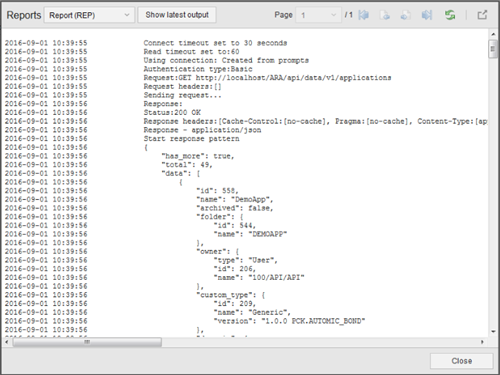
- A quick look at the Last Report helps us determine whether everything worked out fine.
- Let's define now our first output variable. A GET request like the one we've just performed makes sense only when the response is used for further processing. So let's extract a value from the response. To do so, switch to Response and click Add Row.
- We could now directly paste a JSON Path into the respective field, but we will use the response expression tester to immediately validate our input. To do so, simply click the Test button on the very right of the row.
- You can provide arbitrary data or use the result of the last execution for the test. Click Replace to fill in the result of the last execution.
- Specify the JSONPath expression and click Evaluate.

- Click Save to confirm your changes.
Note: You can change the parsing type and expression directly in the test window. The text in the Test Input is kept for the next test and will be cleared on logout.
- Let's add now a second output variable just as we did with the first one. The result should look like this:

Note: The output name of a variable for REST Actions cannot start with "&". However, variables in the AE should always end with "#".
- Click the Save button of the JOB object.
Congratulations! You have just created your first REST Action.
Additional Notes
- The PCK.AUTOMIC_RA_REST Pack comes with an additional include that is responsible for the agent assignment. Every REST job created with the Action Builder uses that include. Therefore, you do not need to explicitly assign an agent for the execution. The first available REST agent will be automatically selected.
- If you want to use the Groovy parsing type, ensure that it is enabled for your RA Web Service REST Agent). This setting can be changed on client 0 (Administration > Agents > open the respective client).
- If you want to use a different authentication type from the one you have selected in the first place then it is best to start over again.
- The Overwrite RA Agent promptset can be used to explicitly assign one specific RA Web Service REST Agent solution agent object (otherwise the first available online agent will be used).
- Additional information about RA Web Service REST Agent can be found in the Web Service REST Agent Guide available at Automic Docs.
See also: