Information Through Notification
Aim:
- Creating a notification
- Using the Notification Monitor
- Assigning the notification to a file transfer
- Restarting the file transfer in the workflow
Lesson 10
Notifications are very important and are commonly used object types. They can be used to send messages to individual users or even user groups of the AE system.
We will now create a Notification object and include it in the first file transfer in order to assure that a message is sent if an error occurs.
- Open the folder in the Explorer in which you have stored the previous sample objects.
- Click the
 button in the toolbar.
- Select the object type CALL (notification).
- Assign a suitable name and double-click on the Notification object to open it.
- Change to the Notification tab
- Select the priority "High" and the type "Alert".
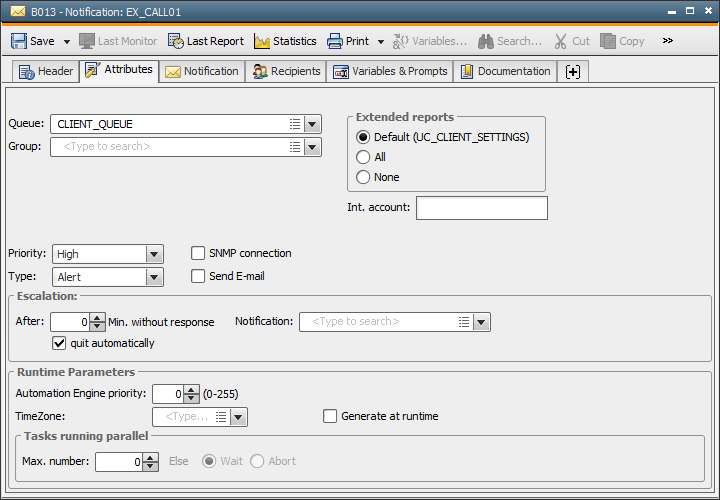
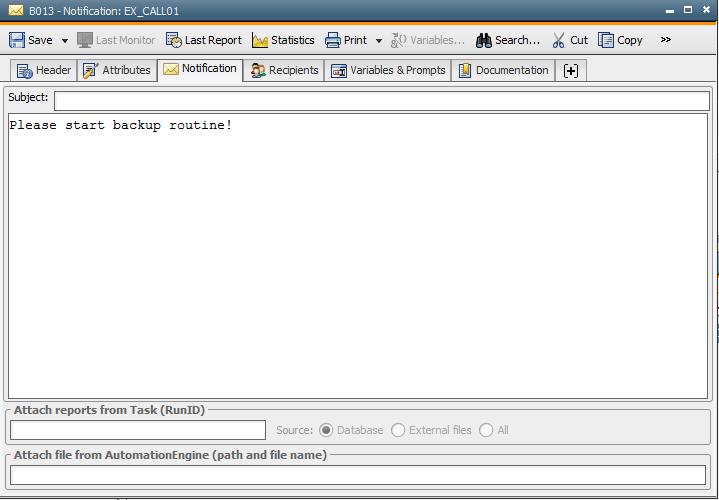
- Change to the Notification tab.
- Enter a message text, keeping in mind whether this text should be used for multiple tasks or only for specific ones. Depending on the use, the message should contain a general text or a specific one.
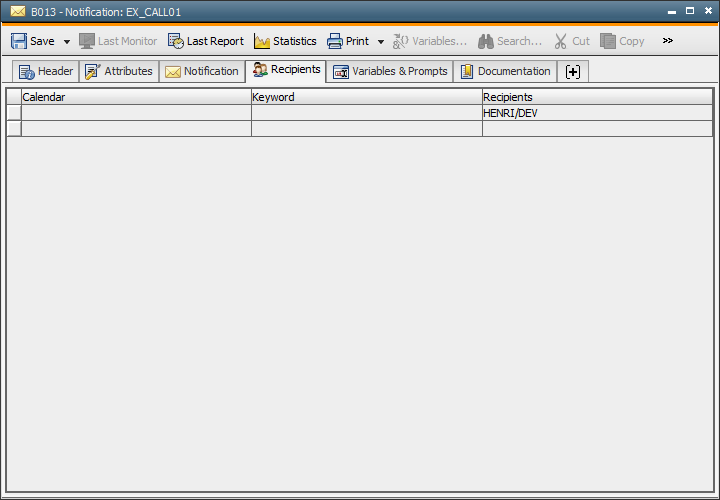
- Change to the Recipients tab.
- Select your user in the Recipients column.
- Store your modifications using the
 button in the toolbar and close the object.
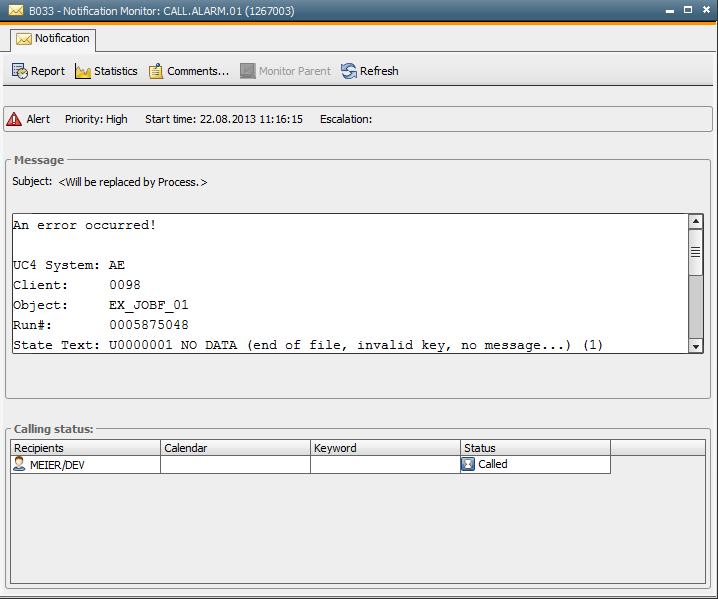
For testing reasons, the notification is now started manually.
- Highlight the notification in the Explorer and start it with the
 button in the toolbar.
- The Notification Monitor opens. Additionally, a notification symbol in the right upper edge of the UserInterface notifies you of the incoming message.
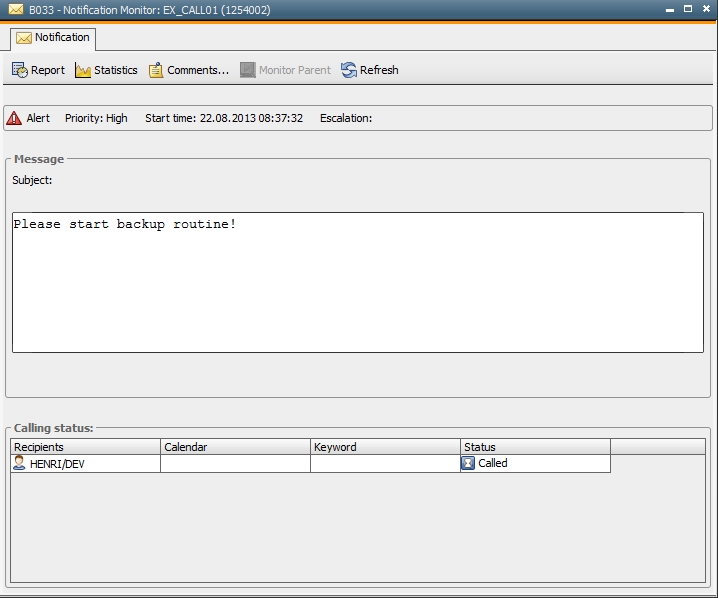
- Click Accept and then Done in order to successfully end the notification.
 The Notification object does not end if you close the Notification Monitor instead of responding to it as described above. The notification symbol is still shown in the UserInterface's upper right edge. Right-click this symbol and select the client. A dialog opens in which you can reopen the Notification Monitor.
The notification sends a message if the first file transfer of the workflow could not be executed successfully.
- Open the Workflow object by double-clicking it.
- Switch to the Workflow tab. Properties can be specified for each object of the workflow (as in Schedule objects).
- Right-click the box that is used for the first file transfer and select the command Properties.
- Switch to the Postconditions tab.
- Select Conditions and use the drag and drop function to move the STATUS entry to the left window area. Now click <STATUS> within the STATUS block. In the displayed dialog, select the status that is expected for a successful execution, which in this case is ENDED_OK. Click OK to confirm this dialog.
- Now add an Else condition to the status block. Do so by calling the block's menu with the
 symbol in the upper right edge and select the command "Add Else block".
- In the Else section, you can define the expected reactions if the file transfer does not end with the status ENDED_OK. Click Actions (right window section) and drag EXECUTE OBJECT and BLOCK to the Else section.
- EXECUTE OBJECT executes any executable object of your choice and BLOCK blocks the task if the previously defined status condition does not apply (Else). For the parameter <Object> of EXECUTE OBJECT, enter the object which should start (BSP_CALL01)and set the option "do not wait". In the BLOCK section, you can set any status text for the blocked task.

- Store your modifications in the Workflow object using the button in the toolbar and close this object.
Now the notification can be tested in combination with the workflow.
- Enter a non-existing file name in the first FileTransfer object. This should cause an error in your workflow.
- Highlight the workflow in the Explorer and start its execution using the button in the toolbar.
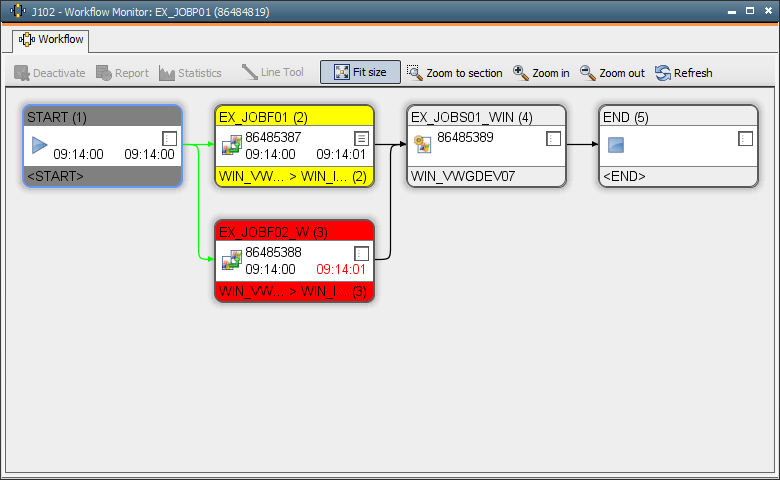
- The Workflow Monitor opens. As the file cannot be transferred due to the wrong file name, the workflow blocks. The file transfer box is displayed yellow.
- The Notification Monitor also opens. Click Accept in order to indicate that you are going to handle this problem. Thus, other recipients of this message know that somebody is already in charge of this situation.
- Right-click the file transfer box in the Workflow Monitor and select the command Edit. The FileTransfer object opens and the erroneous file name can be corrected. Now store and close the file transfer.
- The file transfer can now be re-activated. It is not necessary to restart the whole workflow. Just right-click the file transfer box and select the command Restart...
- Click OK, the default settings are appropriate in this case.
- The workflow will now end successfully. Click Done.
You can also create the notification CALL.ALARM using the button. It has been pre-configured and information about the name of the AE system, object type etc. is then automatically included in messages.
Exercise
Select different priority levels and types in the Notification object. Start it manually and watch how the different settings affect the notification.


