
|
Forecasts |

Getting Started Guide |
Personal Settings |

|
Aim:
- Working with the Explorer
- Searching objects
- Finding object uses
You have already used many functions of the UserInterface in the previous lessons. This document serves to explain additional useful functionalities.
General information:
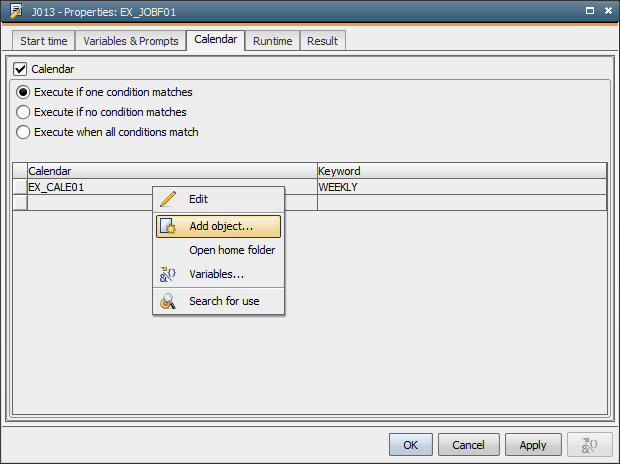
From any location in the UserInterface the available commands can be called via the menu, push buttons in the toolbar, context menu (right mouse button) and shortcuts. When we restarted the workflow in our example, we could directly open and edit the object via the Workflow Monitor.
Another very functional detail: If the name of an object is written in a window (such as in a text field or a table), you can directly open and edit it via the right mouse button.
The view of the Explorer can be changed according to your preferences:
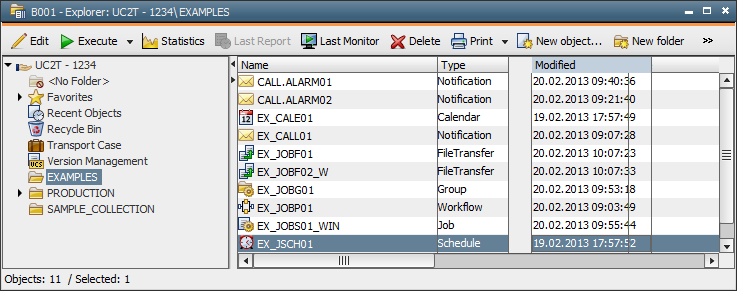
Keep the following in mind when working with the Explorer:
You have already created a folder at the beginning of this chapter. Note that due to the object orientation of the Automation Engine, folders are also regarded as object types. They are therefore created with the  button in the toolbar.
Object names within a client must be unique.
It is irrelevant in which folder the objects are stored. Automic recommends creating a folder structure that makes your administrative work as easy as possible. Objects that use each other (such as workflows) do not necessarily have to be stored in the same folder.
Links can also be created in the Explorer. You can access a particular object in several folders.
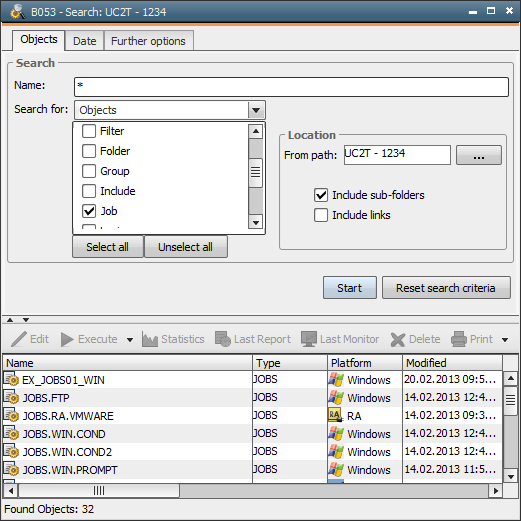
The Search function is another important functionality. It can be used to search objects within a client, by using filter criteria.
 button in the toolbar.
 The search contains three tabs that can be used to limit the search result.
In some situations it can be helpful to know in which other objects a particular object is also used. This special search for use is also available.
In the settings of the Objects tab in Search for... you can define whether the search function searches for objects or for object uses.
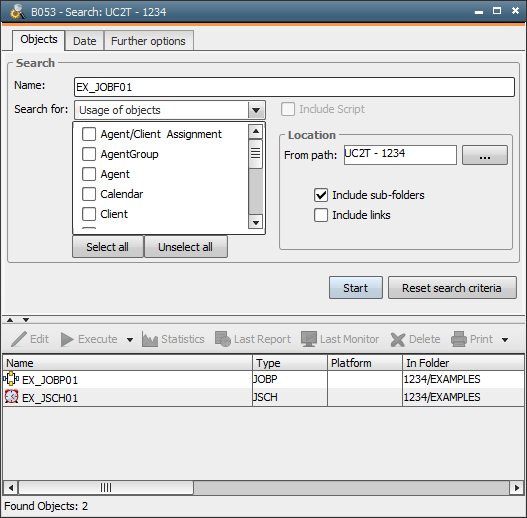
Create a new folder and try to link objects. Search for the sample objects and their uses.