Working with Forecasts
This topic describes the functions that are available for forecast objects. You access them from the corresponding list.
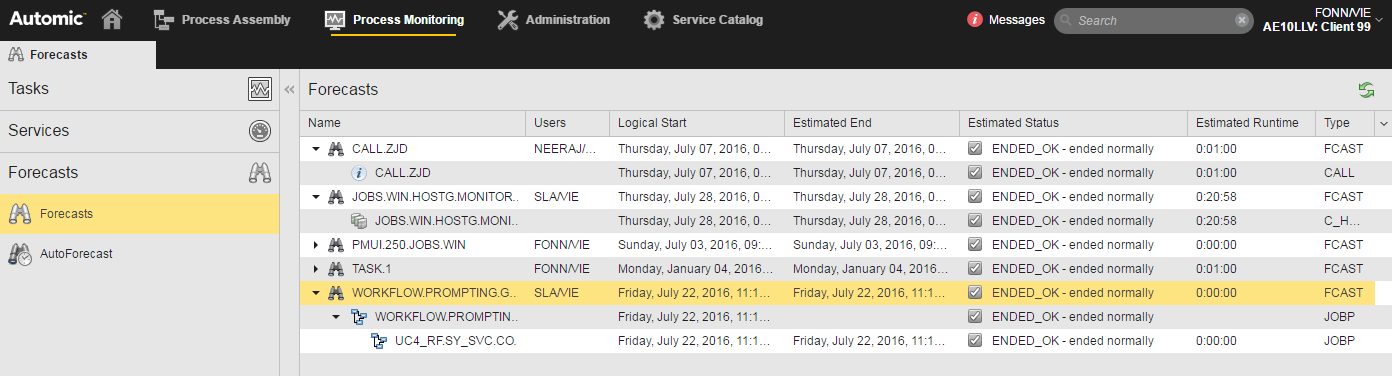
Drill down
The list of Forecasts presents the information in the form of a tree structure that you can expand to show the contents of the forecast object. If this object contains children, you can drill down in the list to open all items:
This is useful if, for example, you have created multiple forecasts and need to give them naming conventions that help you easily identify them.
- Open the Forecasts list.
- Search for the forecast you want to rename.
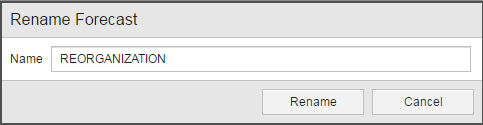
- Right-click the required object and select Rename from the context menu.
-
The Rename Forecast dialog is displayed:
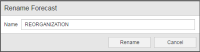
- Enter the new name and click Rename.
Deleting Forecasts
- Open the Forecasts list.
-
Search for the forecast you want to delete.
You can select just one item on the list or
- Right-click the required object(s) and select Delete from the context menu.
-
The system prompts you to confirm that you want to delete.
Click Delete.
As everywhere else in the system, the refresh button allows you update the contents of the lists. This is particularly important on the AutoForecast list after (re)calculating. When a calculation finishes, the list is not updated automatically. You must refresh it manually.
See also: