
|
Exploring the User Interface |

Getting Started Guide |
Executing an Object |

|
Aim:
- Understanding the object orientation of the Automation Engine
- Creating folders
- Creating a job
Activities and processes managed with the Automation Engine are shown in the form of objects. This brings about significant advantages:
What types of objects are available? Refer to the document Object Classes which lists all object types and briefly describes the tasks for which the particular objects can be used. In this lesson and the following ones, various object types are used to familiarize you with the functioning of the Automation Engine and present some suggestions of how you might structure your own processes.
Let's start creating an extra folder for our examples. Note that objects are created, edited and administered in the Explorer.
 button in the toolbar. A window listing all the available object types opens.
 The content of your Templates window can look different from the one shown here, as the administrator can influence the object types that should be displayed.
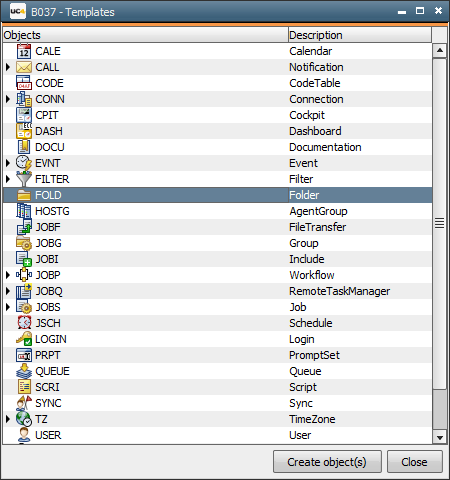 To rename an object, subsequently highlight it in the Explorer and press the F2 key.
The next step serves to create a job. This job is then used as the basis for our future examples. Job objects can be used to execute commands on computers or in Enterprise Business Solutions (SAP, PeopleSoft, Oracle Applications, Siebel). Commands, therefore, are widely used in this object type. Note that there are individual Job objects available for each supported platform.
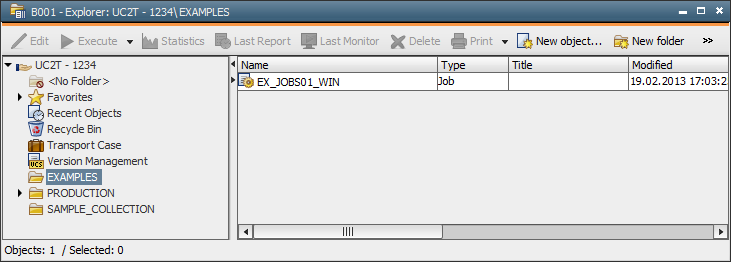
button in the toolbar. Automic strongly recommends using naming conventions for your objects!The following illustration displays the result in the Explorer:
Now let's focus on the content of the Job object:
Note that using the F1 key opens the Automation Engine Documentation at exactly the page at which the tab and its settings are described. Contact your administrator if questions concerning Login objects arise. 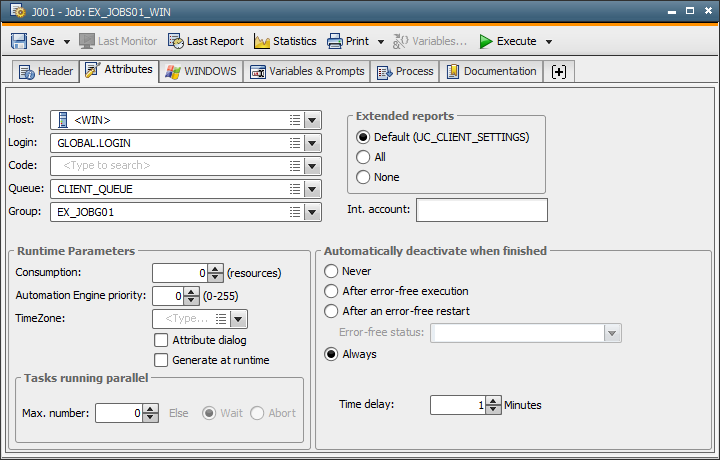 The content of the Attributes tab is the same in all platforms, regardless if it belongs to an z/OS job, SAP job, UNIX JOB etc.
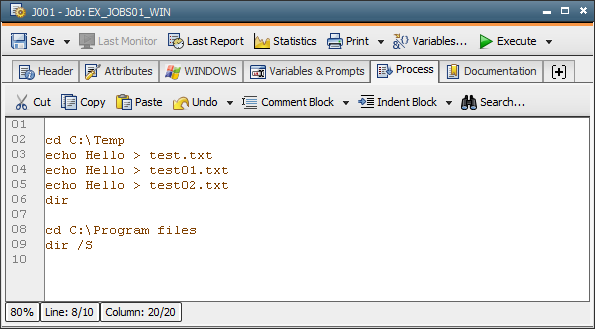
 button in the toolbar.