
|
FileTransfers |

Getting Started Guide |
Calendar Conditions |

|
Aim:
- Creating a Schedule
- Scheduling a file transfer
- Using the Schedule Monitor
So far, we have manually started our objects. As this is non-productive when a large number of objects are involved, we are now going to explain the functioning of the object type Schedule in close detail. Schedules start objects in a predetermined interval - every two days at 10.00 o'clock, for example.
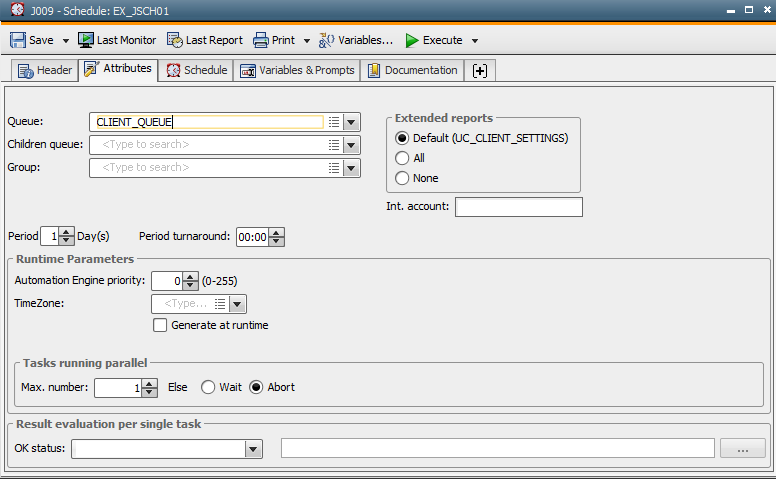
One of our FileTransfer objects should be executed every day at a particular time. First, we create a Schedule object:
 button in the toolbar.
In each Schedule, an interval must be indicated in which the assigned objects should start. This interval is also referred to as "period".
 button which is found in the toolbar.
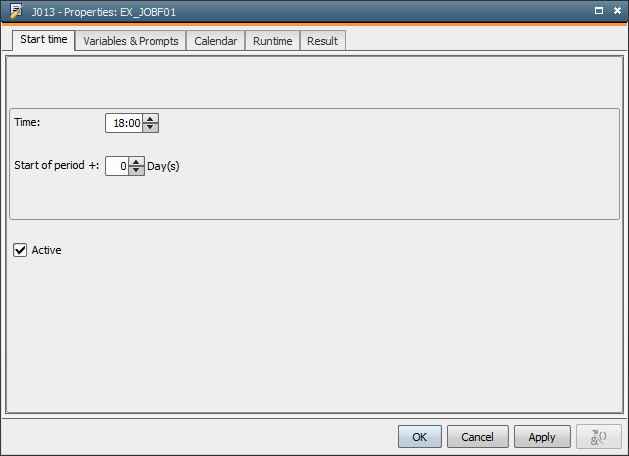
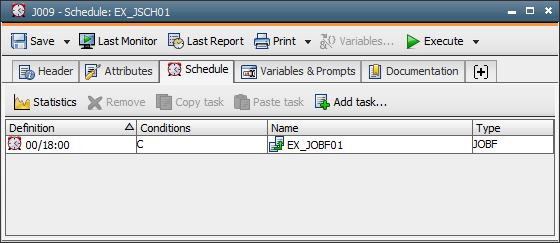
The Schedule tab displays this file transfer that has been planned for 6.00 p.m. (18:00 hours). You can also plan several objects in one Schedule object. Each of these objects then has its own start time. The execution interval, however, remains the same for all objects.
An object can be referred to as "Child" when it is activated by a superordinate task - a "Parent". In our example, the FileTransfer object is the "Child" and the Schedule object is the "Parent". Other examples for superordinate tasks are workflows and groups which will be explained in later lessons.
The Schedule object is not yet active. Only active Schedules execute their objects:
 button in the toolbar.
 The Schedule object is now displayed in the Activity Window and remains active until it is ended by you.
The current status of tasks within the Schedule can be queried through a monitor:
 button in the toolbar.
The properties window of a planned task in the Schedule object can subsequently be opened with the command Properties using the context menu (right mouse button) in the Schedule tab. Enter your current time plus 2 minutes. Re-start the schedule and watch its execution in the Schedule Monitor. Then end the Schedule.