
|
Automation via Schedules |

Getting Started Guide |
Using Workflows |

|
Aim:
- Creating a calendar
- Creating a calendar keyword
- Assigning this calendar keyword to a file transfer
It is very easy and helpful to schedule tasks through Schedule objects. Calendar objects can additionally be included as business processes often dependent on particular days.
In this lesson, we adjust the execution of the existing file transfer. It should be started Mondays to Fridays, but not on weekends.
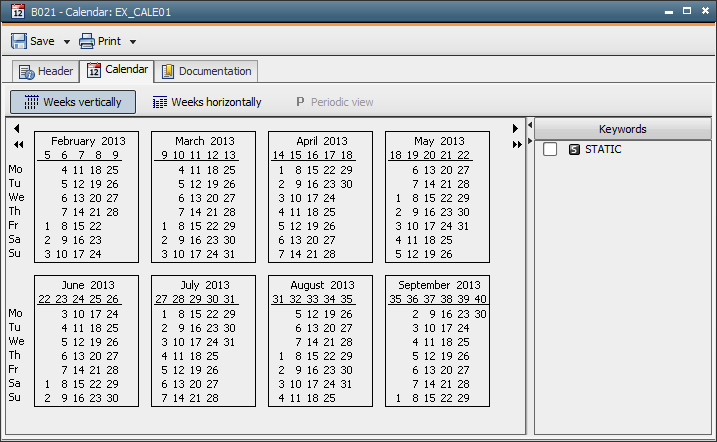
 button in the toolbar.
The weeks are graphically displayed in the Calendar tab.
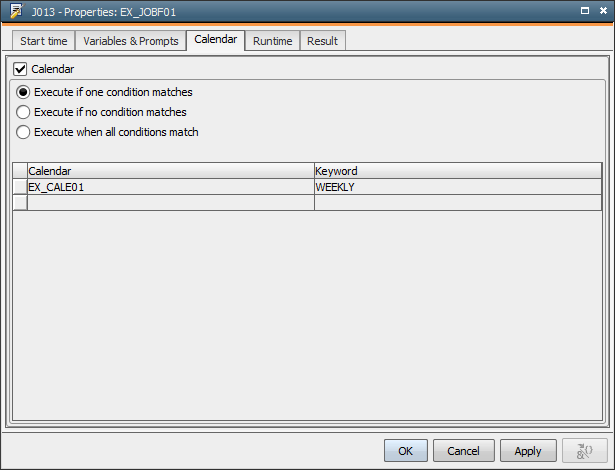
Now the calendar must be linked to the FileTransfer object. This is done with calendar keywords.
 Different types of calendar keywords are available, each having its own Form Assistant for the quick and easy assignment of days.
 button in the toolbar. All Mondays through to Fridays are now highlighted in the calendar. If several calendar keywords are created, the days of the currently selected calendar keyword are highlighted.
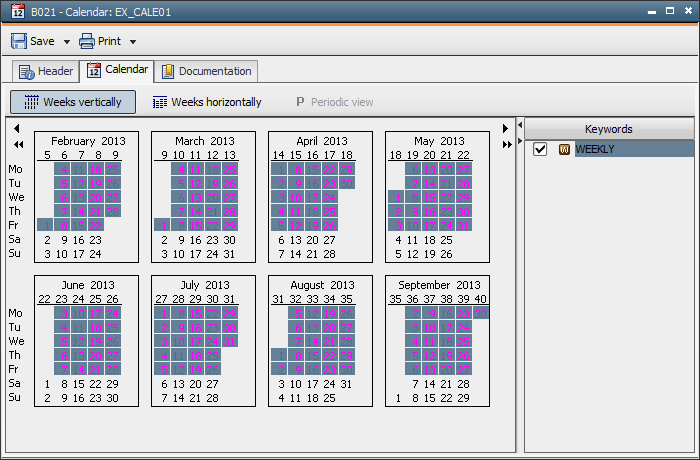
The Calendar object is now ready for use. In the next step, we assign the calendar keyword to the file transfer in the schedule.
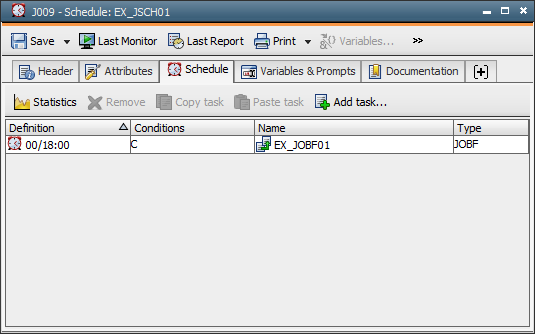 button in the toolbar.
In accordance with the definitions made, the FileTransfer object will run from Mondays to Fridays.
Note that this only applies when the file transfer was activated by the Schedule.
Create a second calendar keyword in the Calendar object which includes all Saturdays and Sundays. Now select the WEEKEND keyword in the FileTransfer object instead of the WEEKDAYS keyword. Hence, the FileTransfer object does not run on days between Monday and Friday.
End the Schedule object and re-assign the WEEKDAYS keyword to the FileTransfer object.