Defining Workflows
The steps for defining Workflows (JOBP) are the same as for any other Automic object. This section describes the settings that are specific to Workflow objects. For general information about the purpose of a Workflow object, see Workflow Definition — Overview.
A Workflow definition is made up of the following pages:
- Standard pages that are always available, no matter what type of object you are defining:
- Additional pages that are always available for executable objects:
- The object-specific page described here.
To Create a Workflow
-
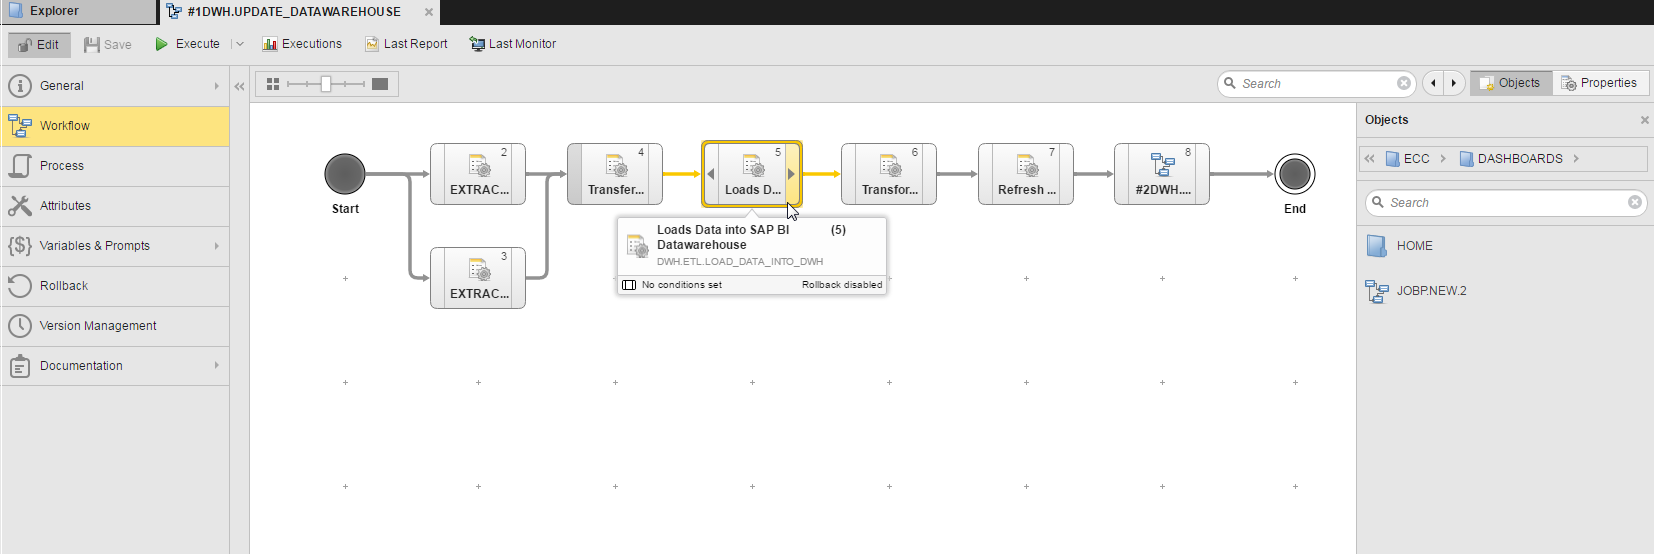
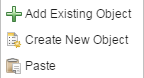
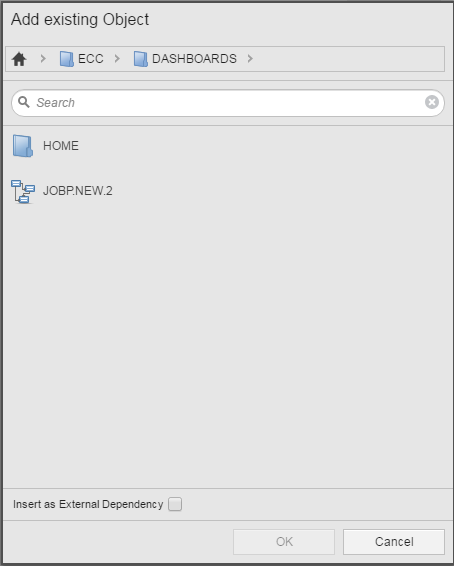
Insert the first object you want to add to the workflow.
There are two ways of doing this:
- Insert as many objects as you need
-
Arrange them on your editor.
This has no effect on the synchronization whatsoever. It is simply for design purposes; it helps you visualize the workflow logic.
-
Link the objects.
If you do not link the tasks and execute the workflow as is, the tasks execute simultaneously right at the beginning.
- Hover the mouse over the start or the end point of a task.
Arrow symbols are displayed, from which you can start drawing the lines.
- Click and hold the arrow symbol and drag it to the task you want to link.
- Release the mouse button. The two tasks are now linked to each other.
You can only link from a node's ending (to the right of the box) to a task's beginning (to the left of the box) or vice versa. You cannot link a task to itself.
As soon as the relationship is established, a number of functions are available that help you fine tune the dependencies between tasks. For example, you can condition the execution of a downstream task on the status of the upstream one.
- Hover the mouse over the start or the end point of a task.
-
Define the properties of each task.
Basically, the workflow is designed and ready for execution now. However, you'll most probably want to define task properties that will affect how and when the workflow will be executed.
Select a task and click
 on the workflow toolbar to open the properties pane on the lower half of the editor.
For details see Defining Task Properties in Workflows.
 on the toolbar to open the
If you are creating ForEach or IF Workflows you may want to read information on their specifics. Click the links below for details:
See also: