Entering Data at Runtime
Objects can be defined so that user input is necessary during their execution. Use this function to open a dialog where you can enter the necessary data.
In some situations, it might be necessary to enter values manually for tasks to end their processing. If you filter the tasks in your list according to their status, namely WAITING: Waiting for user input, you will get the list of such cases. This option is not available for all task status but only when relevant.
The Open User Input Dialog is not available in client 0.
To Enter the Required Data
There are two ways to enter the required data:
-
Manually via the context menu:
- Filter the required task that are waiting for user input.
- Select the task and right-click to select Open User Input Dialog.
-
A popup message is displayed at the top of your window that provides a link to the input dialog:
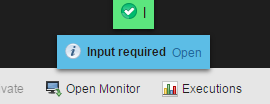
-
Click Open.
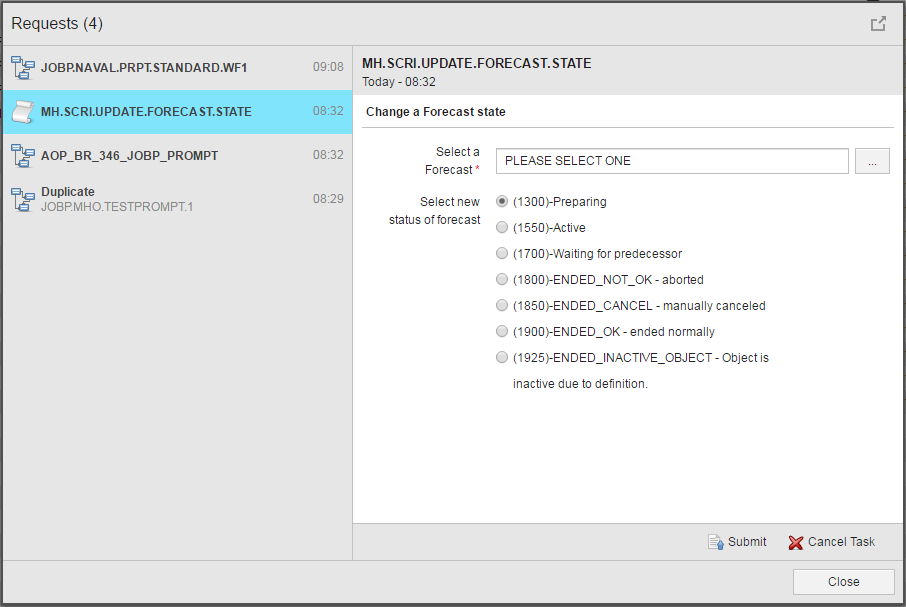
The Requests dialog is displayed; if you have more than one request for input, the list displays them all but the one pertaining to the selected task is selected.
-
Via the Requests notification button:
The Requests button is available on the menu bar and indicates the number of active requests that are waiting for your response:

Click it to open the Requests dialog.

The caption indicates the number of active requests in brackets. The left panel provides the list of tasks that triggered the requests. The right panel contains information on the triggering task and on the request and provides the necessary functions to react to them. The appearance of the panel depends on the type of request; it varies from short descriptions to complex forms created by :READ statements or PromptSets.

To Submit a Request
- From the left panel select the task you want to process the request for.
In the case of requests created via PromptSets, if a task contains several such requests they are listed one beneath the other and separated by horizontal lines.
-
Select Yes if you want to take ownership of this request; this means that you will take care of the actions that are necessary to resolve it. Click No to reject it.
- Depending on the nature of the request and on your configuration, the contents of the request displayed on the right pane may vary from mere information to complex forms that you must fill in. Define the settings/options as required.
- Click Comments to enter any sort of information that can be helpful later on.
- Click Recipients to open the list of users, user groups, etc. that will receive.
-
Click the Submit button when you are done with your work on the request, which will then disappear from the list.
As long as the transmission is active, a loading symbol is displayed instead of the task symbol.
If an error occurs when submitting a request, a yellow warning symbol is displayed in the left section (next to the task) and in the right section (next to the relevant input elements).
If the request has been successfully submitted, a confirmation is displayed in the top bar of the dialog, and the corresponding entry disappears from the left section.
The dialog closes automatically once the last request has been submitted.
- The Cancel Task button is available in the right section if the requests you are processing are PromptSet or READ input dialogs. Click this button to completely cancel the associated task.
See also: